
I’ve gotten a few questions about the trailer, all from people who haven’t seen the game in action (have you heard you’ll be able to play it at E3?!). Let me clarify: none of it is video-editing magic, it’s all recorded in Unity — that is, I used the technology in the game to make the trailer itself!
I knew I wanted to create an in-engine trailer. Fans appreciate seeing the actual game in trailers, the visuals are inspired by film anyway, and the process would be much easier and cheaper than doing any real video editing.
My only pre-production was a quick idea sketch in my notebook. After that, I went straight to the game assets themselves!
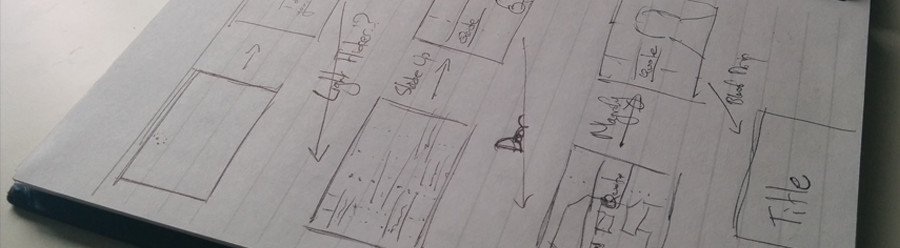
I duplicated my Unity scene and called the new one AnnounceTrailer. Honestly I changed very little, because again, most of the functionality was already embedded in the game. The only minor tweaks were simplifying the text elements — the trailer text isn’t populated by any Twine story file; instead I just define colours and strings in the scene itself.
Otherwise, I wrote a very basic TrailerController script to manage the timing of transitions (wait X seconds, then transition to the next scene). Engineers will correctly chastise the hard-coded strings — normally no bueno, let your designers fill that in! — but since I was the only one creating this trailer, and the code wouldn’t be reused, I allowed myself a few cheeky shortcuts.

The audio in the trailer is a tweaked version the travel music in the game. Mark extended the song so it didn’t have to loop, and he created a more definite ending. I added that file to an AudioSource in the scene and told it to play automatically, then I adjusted the animation timing to match the music.
To get it into video form, I created an AnnounceTrailer game file and ran the game at full screen — exactly the way I create my regular game files! I recorded my screen with Quicktime, and voila, trailer finished!
Well, not quite. For some reason the audio didn’t sound great that way — its volume was either far too low, or it had strange artifacts. So I muted the screen recording and used iMovie to combine the visuals with the music.
A simple export to MP4 later, and it’s uploaded to YouTube!
The whole process, from planning to final trailer, took less than two days. And I’m very happy with the results!
We’ll see if I use the same strategy for future media, but at this point, I can’t think of a reason not to!
Okay wait, that’s a nice story, but it’s not quite complete. You see, I actually made another trailer before this one. It had similar music and generally the same vibe, but one glaring problem: it didn’t hook viewers quickly! It would be good in a movie theatre, but online audiences scroll their Twitter feeds faster than a jet at takeoff! If my video doesn’t grab you in the first five seconds, I might as well not create it at all.
Want to see the trailer that didn’t make the cut? I’m terrified to show you this. Fair warning, it was just a first draft, with that low-volume audio problem I mentioned earlier, and a horrible recording frame rate. I even forgot to remove the Notes button — d’oh! But this is what development looks like. Here’s a day of effort for a bad trailer:
Thanks for reading! More posts soon!
Want to get notified when A Case of Distrust has a new devlog? Sign up for the newsletter now!